If you’re looking at microgreens as a way to earn extra income, here’s where the money comes from. We teach selling them as a weekly home delivery: a customer signs up once, and a fresh order goes to their door every week. Each week they stay, they pay you again, so every customer you keep is income you can plan around.
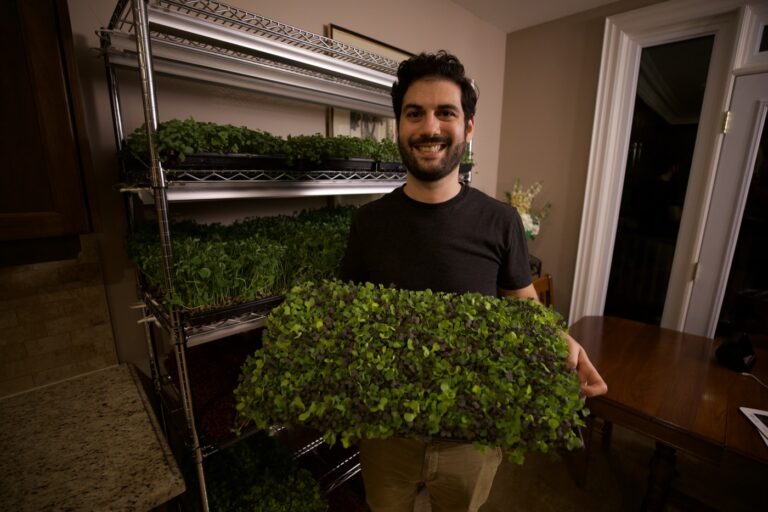
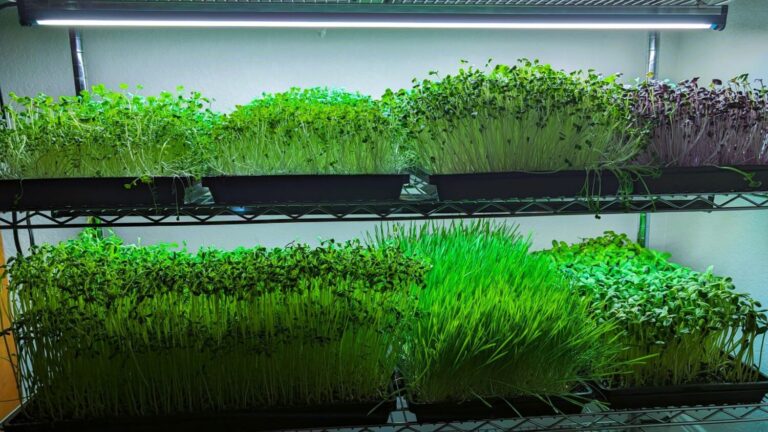
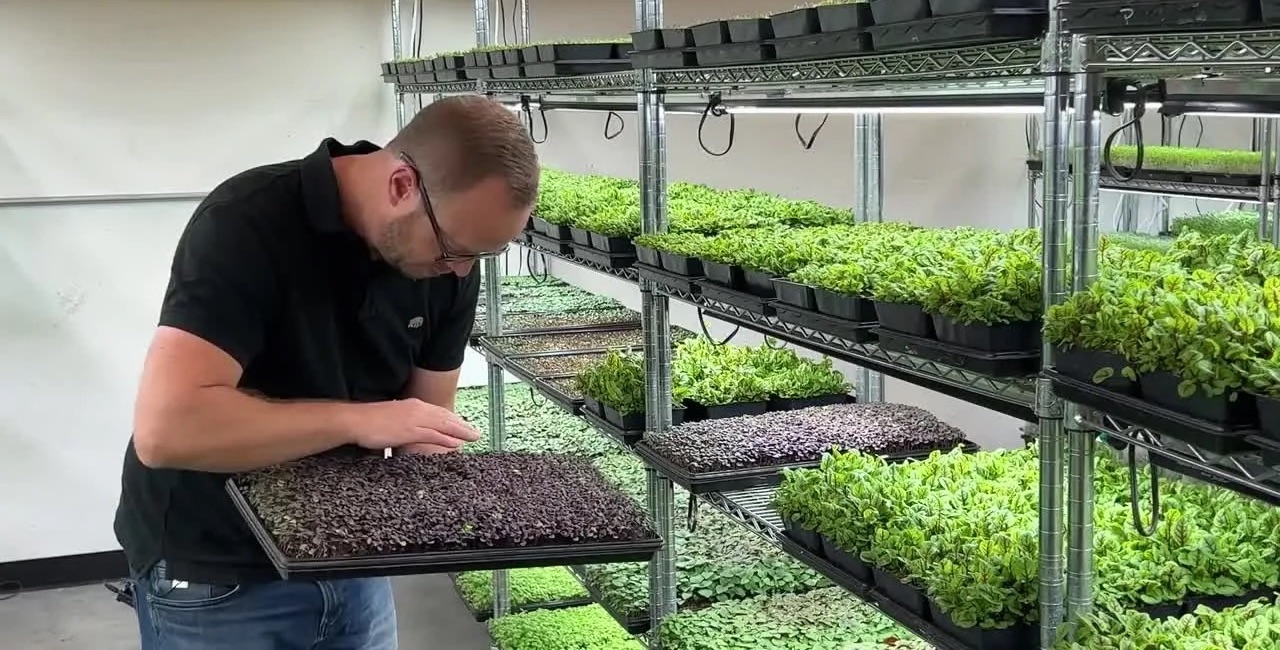
The four varieties we start growers on take about ten days from seed to harvest (a little more or less, depending on variety and room temperature), and they grow on shelves indoors. With trays started a few days apart, one rack can give you a fresh harvest every week, in any season.
In our model, the order always comes before the planting. We call it growing to order: you plant what the customer has already asked for, rather than cutting trays first, looking for buyers afterwards, and eating whatever doesn’t sell.
Whether all that adds up to money worth your time depends on three things: what you sell, what it costs to produce, and how long each order takes you. We’ll work through costs and hours with a full example later on. First, the lineup, because the crops don’t all earn in the same way.
Free training
Start a microgreens business at home
See the home setup, the crops that sell and how students find their first customers.
Your best seller and your best earner may not be the same crop
We recommend starting with four products: pea shoots, sunflower shoots, broccoli, and a mix of pea, sunflower and radish. Each plays a different part.
Pea shoots do most of the earning. They’re the easiest of the four to grow, their yields are the most consistent, and a tray produces a lot of product.
Sunflower shoots come second on profit, with high yields and a following among kids. They take more work, though: they need washing after harvest and they’re fussier to grow.
Broccoli is the one people ask for by name, largely for its health reputation, and it earns the least of the four because a tray yields less. It still belongs in the lineup, because it’s the crop that tends to bring new customers to you.
The mix is an easy first choice for people who are new to microgreens, and it gives you some slack in production. If one of its three crops comes in light, you make up the difference with the other two and the order still goes out complete.
That ranking comes from our course’s own growing setup, so use it as a starting lineup to test against your own trays and customers. In practice it means offering the crop people ask for while keeping enough pea and sunflower on the racks to carry the income.
If you are still planning your first setup, our microgreens starter guide walks through getting ready for your first orders.
What it costs to fill an order
Some costs come with every pack you sell: seed, soil and fertilizer for the tray, the clamshell and label, and a share of the electricity for your lights. Add those up for one tray, divide by the number of packs it fills, and you have your cost per pack.
Other costs come with each order or delivery round, such as card fees when customers pay online and fuel for the drive. Then there’s the equipment you buy once — rack, lights and trays. It doesn’t belong to any single order, but it wears out and eventually needs replacing.
Supply costs are one of the things new growers most often tell us caught them off guard, so price your full list before you buy, including shipping on heavy items like soil. As you grow, seed, soil and disinfectant get cheaper bought in bulk rather than by the bag, once you’re using enough to justify it.
One cost only appears when something goes wrong. A pack left on a hot porch or a freezing step can come back as a refund. We recommend delivering in the evening, when customers are most likely to be home and the greens spend the least time outside.
Where your time goes
A week of orders means planting, watering, harvesting, weighing, packing, labeling, driving the route and answering customer messages. Each job is small, so time them instead of guessing the total. From your very first trays, write down how long each one takes, alongside your yields, seed and soil.
Once you have real timings, you can see which jobs are worth speeding up. Weighing is a good example. For a 60-gram pack, our course suggests filling to a range of 60 to 63 grams rather than chasing an exact weight, which is slow to hit on every clamshell. You give away a few grams per pack and finish packing sooner. Your own timings will tell you whether that trade is right for you.
Some savings are simple: a spreadsheet to keep track of seed stock, or fewer steps to pack each clamshell. When you do buy equipment to save time, choose things that pay for themselves quickly.
For your first few stops, a map app can help you plan the route. Keep track of the time and distance from the beginning, and revisit the route as you add customers.
A week of orders, worked through
This example uses invented numbers to show how the math works. They aren’t market prices, results from our growers, or a forecast of what you’ll earn.
Assume:
- 30 packs sold in the week at $6 each
- $1.80 per pack for seed, soil, fertilizer, packaging and an electricity share
- $18 for card fees and fuel for the delivery round
- $18 a week set aside for equipment and running costs that don’t belong to any one order, such as replacing the rack, lights and trays over time, or paying for your online store
- 9 hours of work across the week
| Sales: 30 × $6.00 | $180.00 |
| Pack costs: 30 × $1.80 | −$54.00 |
| Card fees and fuel | −$18.00 |
| Money remaining | $108.00 |
| Equipment and running costs set aside | −$18.00 |
| Remaining before owner pay and tax | $90.00 |
The two bold lines answer different questions. The $108 is what’s left after pack costs, card fees and fuel. Allowing another $18 for equipment and shared running costs leaves $90 for your work, before tax. This is a planning estimate using the costs listed here, not a complete accounting profit calculation. Include any other costs your business has.
Your hours aren’t in either figure. $90 for 9 hours works out to $10 an hour, before tax. That’s the number to compare with whatever else you could do with those hours.
Every assumption above is one you’ll replace with your own figures as you go. When you do, work through them in the same order: sales, pack costs, order costs, shared running costs and equipment allowance, then hours.
Setting your price
Start with what’s already selling near you. Talk to other microgreens sellers about what they grow, who they sell to and what they’ve learned, and buy some of their product to compare its packaging, look and taste with yours. Many sellers are happy to talk about their business.
Every business competes on price, service or quality. Competing on price is hard for a new grower, so we don’t recommend starting there. Service and quality are where a small local grower can stand out: free contactless delivery if other sellers in your area charge high delivery fees, or free samples so a prospect can taste the difference. Include the cost of either in your price.
Once your price is set, your order terms protect it. Say a customer asks for broccoli in 100-gram packs instead of 60. That’s two-thirds more product in every pack, and more trays to grow each week. Or a customer wants delivery between 3 and 4 p.m. when the rest of your route runs from 6 to 8. Before you agree, check what the request does to your costs and your schedule. You can work out a price that covers the extra work, or decline the request.
For help turning that offer into orders, read our guide to finding and keeping microgreens customers.
Growing the right amount
Your orders tell you how much to harvest. Your yields tell you how many trays that takes, so they need to be your own. Weigh what each tray actually produces, and if it comes in under the figure you’ve been planning with, change the figure. In our course’s tutorial, a pea tray planned at 700 grams came in at 650. Updating the plan to 650 raised the number of trays to plant, so the orders were still covered.
Accurate yields protect you on both sides. Plant too few trays and someone gets a short order, and customers who get their full order every week are more likely to keep ordering. Plant too many and the extra trays are a cost with no order behind them.
You’ll still have extra some weeks, when a tray does better than planned. That surplus is useful: give it as free samples to people who haven’t ordered yet, use it in photos and videos, or donate it locally.
When the numbers disappoint, find the weakest part of the operation, whether that’s yields, pricing, packing time or delivery, and work on that first, one thing at a time.
Try the free training
If you’re still deciding whether this is for you, our free microgreens training is a good next step. It walks through setting up a home growing space and finding customers online, and it introduces our full course.