Have you ever heard that the mightiest things come in the smallest packages? In a world biased to “bigger is better,” going with the little guys is an act of rebellion.
And when it comes to plants, microgreens are one of the best examples of small-but-mighty. Harvested at peak nutrition, microgreens pack a punch for human nutrition and planetary benefit.
So, what exactly are microgreens? And how can you grow them for yourself, your community, and (your future) business?
We’re Freedom Farmers and we celebrate you: the doer, the organic eater, the not-so-average civilian with dirt under your fingernails. We believe that growing your own food is the ultimate expression of freedom.
We love microgreens because they’re easy to grow, intensely nutritious, and highly profitable. Becoming a microgreens business owner is easier than ever before — and we’ve curated your go-to resource on all things microgreens.
It’s an intensely exciting time to be growing these mighty plants. Cultivating microgreens fosters one of life’s most precious skills: building a regenerative relationship with the land that nourishes both the Earth and humans. The skill of growing good-for-you food will only become more valuable as our world leans toward community and self development, and further away from reliance on large systems.
What are microgreens?
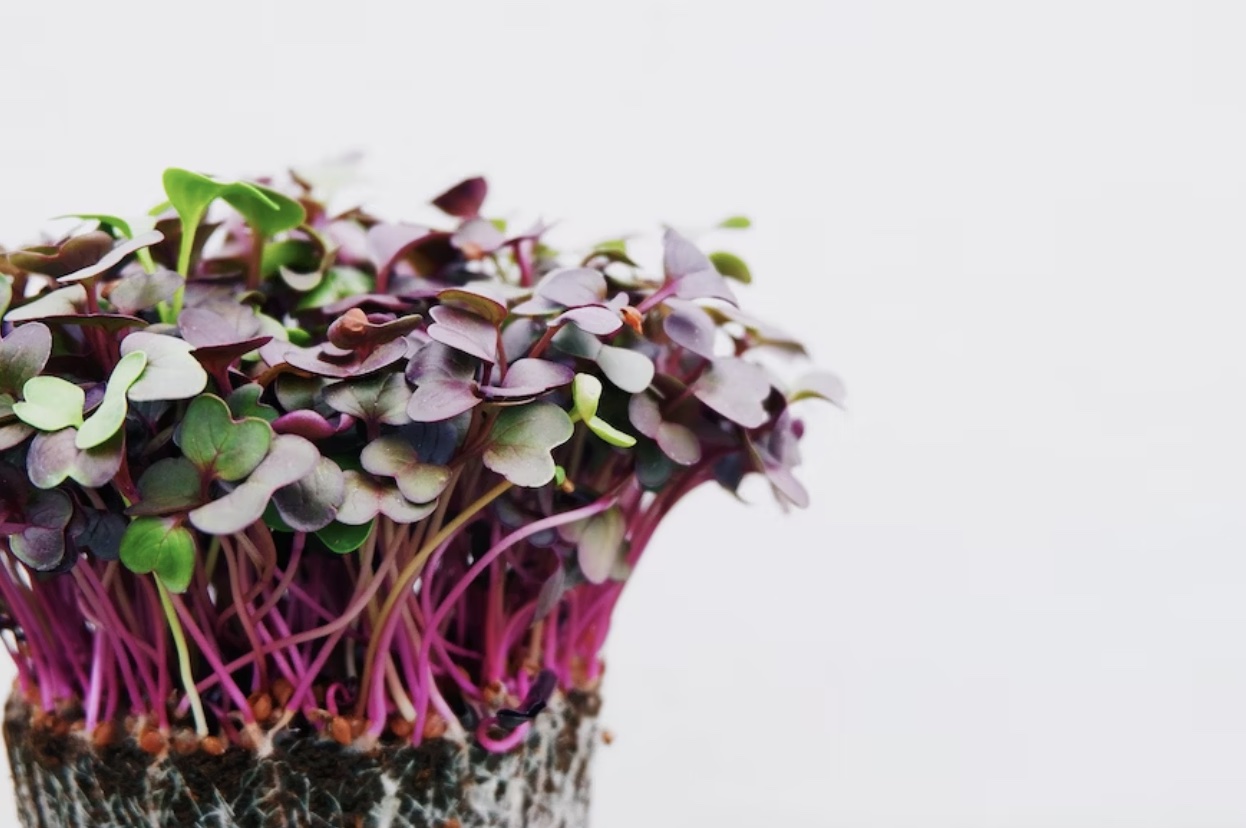
Microgreens are the greens of vegetables that are harvested during the growth stage between sprouts and baby greens. The specific timing for harvesting is what makes these tiny plants so nutrient-dense and thus, gives them their own category in the plant world. There are over 80 varieties of greens and all varieties may be grown in limited space — all you need is 6 sq. ft.
The four most popular and most profitable varieties are: broccoli, radish, pea, and sunflower. These four varieties are recommended for beginners because they’re the easiest to grow and in demand.
What are the health benefits of microgreens?
Microgreens are up to 40x more nutrient-dense than mature greens. They’re packed full of…
- Antioxidants
- Vitamins
- Minerals
- Polyphenols
…and they’ve got rich flavor, which makes them perfect for garnishing meals and blending in smoothies.
With a roster like this, microgreens have the full package — and when you grow them yourself, you can ditch your association with the world’s plastic packaging obsession.
Are there any other benefits with growing microgreens?
When thinking on a planetary scale, the bigger things probably caught most of your attention. Things like…
- Water Conservation
- Soil Remediation
- Carbon Sequestration
- Waste Minimization
With such big issues leading the environmental conversation, thinking small is thinking out of the box. At Freedom Farmers, we’re teaching vital skills — like how tending to your corner of the Earth brings deep regenerative nourishment to a planet ravaged by exploitation. By caring for your corner, you’re building communal and self reliance while taking a stand against the destructive practices of our mainstream toxic culture.
By growing microgreens at home, you’re taking the strain off of an already broken food system. When your microgreens are grown indoors (either in your kitchen, your basement, or your greenhouse), you’re cutting down on the carbon emissions produced by traditional food distribution. Growing your own microgreens is a powerful way to build a resilient and regenerative future — starting from where you are right now.
By growing small, you’re thinking big.
What do you need to start growing?
To start your microgreen farm, you’ll need a few basic items that you can get at any gardening center, home improvement store, or superstore. In fact, some of these items might be laying around your house already.
You’ll need:
- Seeds
- Water
- Soil
- Trays or flats
- A small kitchen scale or measuring cups
- Spray bottles and a pitcher
- A sharp knife or pair of scissors
You also might need a few cups on hand for some seed varieties that require pre-soaking, as well as a small colander to rinse the seeds before germination.
To grow with resilience, you need an environment full of freedom. Your microgreens need freedom, too. For them, freedom feels like a nutrient-rich growing medium with a capacity to hold soil moisture. Providing this environment will ensure optimal growth. Popular growing mediums for microgreens are peat-based mixes, coconut coir, as well as mats constituted of natural (cotton, kenaf, hemp) or synthetic (rockwool) fibers.
5 Steps To Growing Microgreens Indoors
Step 1: Calculate and measure the optimal amount of seeds needed for your trays
- Most seeds will have growing instructions on the package. Follow the spacing recommendations on the seeds you’re planting.
- If that information is unavailable to you, the general recommendation is to plant your seeds anywhere between 6 and 12 inches apart, with larger seeds getting more space.
Step 2: Prepare your trays and growing medium
- Flat trays are generally preferred over regular nursery pots and it is also possible to recycle containers deriving from food packaging.1
- Ensure that you’re using clean material suitable for food production and that the trays have drainage holes at the bottom. 1
- Fill the trays with your growing medium and water slowly, but thoroughly. The moisture of the medium will help small seeds stick to the surface and will keep seeds moist during the germination process.1
Step 3: Seed your trays
- Evenly distribute your seeds across the entire growing area of each tray.
- Keeping the sprouts clean is recommended and you can easily achieve this by not covering the seeds with soil after distributing the seeds on the growing medium surface.
- To facilitate the germination process and keep a good moisture level during germination, it is recommended to keep the seeds in a dark environment for a few days. This can be easily achieved by covering the microgreens trays with something that can block the sunlight.1
- To keep the seeds moist, occasionally apply some water using a spray bottle.
Step 4: Let the microgreens grow and provide management
- After the germination process is complete and seedlings reach a certain height, uncover the trays and expose the sprouts to sunlight.
- At this stage, either move the trays to a sunlit area or supplement them with grow lights.
- Ensuring the greens have enough water is important. Water only if necessary and avoid excess moisture.
- It is recommended to water the trays from the bottom, to limit the contact between water and the greens.
Step 5: Harvest your microgreens
- Depending on the species and the growing conditions, microgreens may be ready to harvest in a few days or in a couple of weeks after germination is complete.1
- Microgreens may be harvested using a clean, sharp knife or a pair of scissors.1
- Washing your harvested microgreens is recommended, though their shelf life may be substantially shorter after washing. You could also bag and store microgreens at low temperatures; washing them right before they are used.
- Now you’ve got nutrient-dense, delicious microgreens grown indoors at home!
Growing greens for yourself can quickly become an obsession that grows into more than a hobby. For a lot of growers, starting a business is the next clear step.
Even though the step is clear, actually stepping away from the traditional “work” experience to do your own thing is scary.
How do you know if you’re doing it right? Which pieces of advice can you ditch and which should you follow? How can you feel confident managing all the moving parts to growing and selling?
Fear, mixed with intrigue, is totally normal. But the status quo might not be working for you anymore and you’re likely more capable than you realize.
We’ve put together the ultimate blueprint for breaking into the microgreens business. We did things the hard way when we started and learned from our mistakes so that you don’t have to. There are some common obstacles that can make the path to growing and selling microgreens hard. Avoiding these will put you ahead of any competition in your neighborhood.
What are common obstacles to growing and selling microgreens?
Though growing your own small-but-mighty edible garden is easy, the learning curve can still be steep. With anything new, there’s a lot to learn and it can quickly lead to overwhelm.
Most beginners make a lot of the same mistakes — ones that we’ve made ourselves at Freedom Farmers. Mistakes that include…
- buying the wrong equipment — which can cost you thousands
- trial and error with different crops — with over 80 varieties, this can cost you a ton of time, energy, and resources
When scaling up your new microgreens hobby with the intent to sell, new obstacles often show themselves faster than you think. Selling can look like…
- cold calling grocery stores and restaurants — an introvert’s nightmare
- travel to farmer’s markets — a lot of work that’s ultimately not scalable
What’s the easy way to start a microgreens business?
Rejecting the status quo and starting your own business is easiest with the right guidance. Our course instructor, Jonah Krochmalnek, used his 10+ years of experience growing microgreens and scaling his business to develop the secret formula that we recommend to all microgreen growers, regardless of experience.
We like to call this the easy way because it’s a step-by-step guide that can help you jump right over the common obstacles and successfully grow microgreens to sell.
The Easy Way: The 3 Secrets To Growing and Selling Microgreens
Secret #1: The 1 Rack System — How To Build Your In-Home Farm Using Just 6 Sq. Ft.
Secret #2: Growing 101 — How To Go From Seed To Finished Product in 10 Days With No Experience
Secret #3: Modern Microgreen Marketing — How To Get Sales On Auto-Pilot Without Leaving Your House
These three secrets are the growth recipe that will allow you to start, grow, and scale your microgreens business — whether you’re looking for a side hustle or a full-blown career change. Isn’t it time to forge your own path?
It IS possible to earn $2k from your first 30 days growing microgreens, with the right guidance. Our course, “Start A Microgreens Business From Scratch,” is a step-by-step guide that lays out *everything* you need to know to go from “no experience” to “open for business!” in your first 30 days.
At Freedom Farmers, we put all of our courses together with the goal of self-sufficiency. We’re the go-to resource for small farming education. We teach you how to grow and sell food from home, giving you more autonomy and freedom in the process. When working together, we’re building a vibrant community of freedom seekers and trailblazers who are creating a new Earth.
To learn more, join our FREE webinar where Jonah will teach you how to grow and sell microgreens the easy way — and how to become a microgreens business owner in your first 30 days.