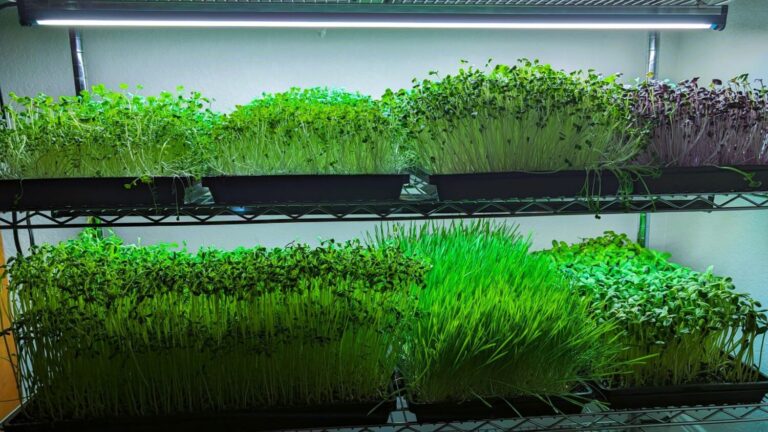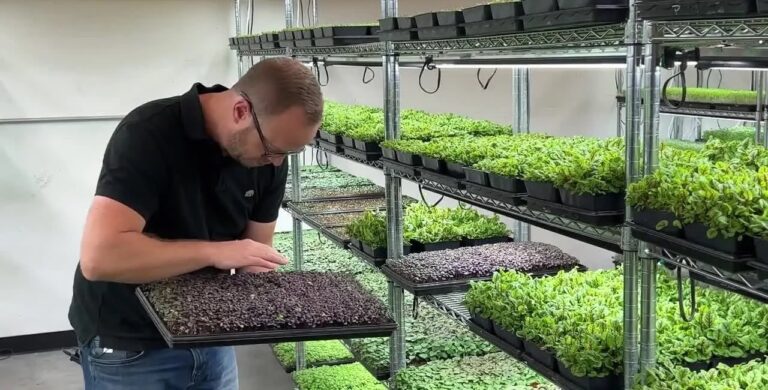
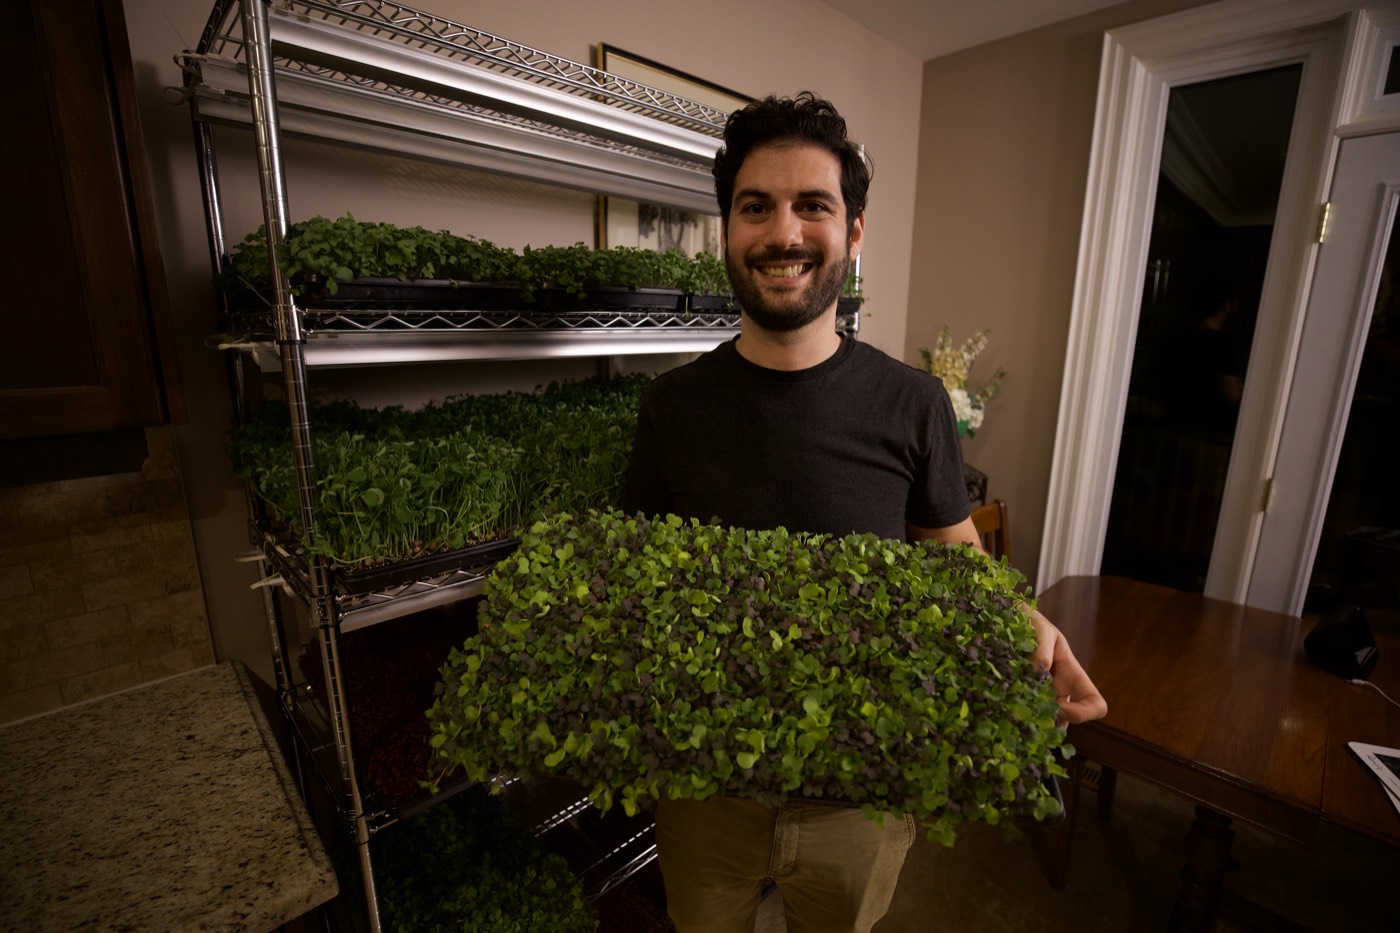
A microgreens business can start in a spare room with one rack. Growing them is the easy part. The part that decides whether it works is finding people who order every week, and fitting the work into the life you already have.
We teach a simple order of operations: learn to grow first, get the order, then plant what the customer asked for. We call it growing to order. It keeps you from filling a room with trays and hoping someone buys them.
This guide walks through the first steps in that order, so you can start small and find out whether it’s right for you before you spend much.
Free training
Start a microgreens business at home
See the home setup, the crops that sell and how students find their first customers.
Decide what the business has to fit into
Before you buy anything, write down what you actually have to work with:
- Time: which days and hours you can count on every week, weekends included
- Space: where you’ll grow, clean, pack and store
- Delivery: how far you can drive, and on which day
- Budget: how much you can spend testing the idea without needing sales to pay it back
- Goal: what would make the work worth it, and when you’ll check
Then say it in one sentence, such as: “I can work Monday and Thursday evenings, deliver within 20 minutes of home on Thursdays, and spend a few hundred dollars finding out whether this works.”
That sentence will save you money. If your only free evening is Thursday, a buyer who needs Monday deliveries isn’t your customer yet, no matter how many trays you could grow.
Learn to grow before you sell
Practice comes before promises. Grow a few batches before anyone pays you, so you know what your setup really produces.
We start growers on four crops: pea shoots, sunflower shoots, broccoli, and a mix of pea, sunflower and radish. They take about ten days from seed to harvest, a little more or less depending on the variety and the temperature of your room.
For every tray, write down:
- the crop, seed supplier and how much seed you used
- the date you planted and the date you harvested
- what you actually harvested, by weight
- anything you threw away, and why
- how long planting, watering, harvesting, cleaning and packing took
- what you changed from the last batch
Keep “grown,” “sellable” and “sold” separate. A tray that nobody buys still used seed, soil, space and your time.
Check the rules where you live
Rules for selling food vary by state, province and county. Before your first sale, describe what you plan to do to your local health department: where you’ll grow, whether you’ll sell cut greens or living trays, how you’ll package and store them, and where you’ll sell. Ask what applies to you.
Write down the answer, who gave it and the date. Your local extension office can also point you to produce food-safety guidance. Virginia Cooperative Extension’s microgreens guide is a good place to start on growing and harvest practices.
Set up small
You don’t need a grow room to start. One rack with lights, some trays, growing medium, seed and packaging is enough to test the idea. Price your full list before you buy, including shipping on heavy items like soil.
Starting small also gives you an easy way out. If the business isn’t for you, you’ve spent little, and you still have fresh greens for your own kitchen.
Find your first customers close to home
We start people with local home delivery: households near you who order every week. Post in a local Facebook group you’re allowed to post in, tell friends and neighbors, and give free samples to people who could realistically order.
Only take on the customers you can serve. Our guide to finding and keeping microgreens customers walks through getting from a first message to a confirmed, repeat order.
Plan each order from your own yields
Once orders come in, turn them into trays using what your trays actually produce, not what you hoped they would.
Say your customers have ordered 900 grams of pea shoots this week. If your trays reliably give you 300 grams each, you need three trays. If they give you 225 grams, you need four. When your real yields differ from your plan, change the plan.
Timing matters just as much. If your crops take ten days and you deliver on Wednesdays, an order confirmed on a Monday can’t make this Wednesday or next Wednesday. Plan for the one after that, and tell the customer the date up front.
With trays started a few days apart, one rack can give you a harvest every week. Plan the next batch before the current one is ready, not after it’s delivered.
Find out whether it pays
A business pays when what’s left after costs is worth your hours. Count what each pack costs to produce, what each delivery round costs, the equipment you’ll eventually replace, and the trays that didn’t sell or didn’t grow well. Then compare what’s left with the time it took.
Our guide to growing microgreens for profit works through a full week of orders so you can do the same math with your own numbers.
Start small, then decide
Give it a few weeks at a small scale, then look at what you’ve recorded: how many people ordered again, what your trays produced, what it cost, and how many hours it took.
Then make one of three decisions: keep going at this size, change one thing and test again, or stop. Changing one thing at a time tells you what actually made the difference.
Try the free training
Our free microgreens training walks through setting up a home growing space and finding your first customers online, and it introduces our full course.